Showing posts with label how to. Show all posts

June 26, 2012

How To: Make Sunset Cupcakes

  Hello!


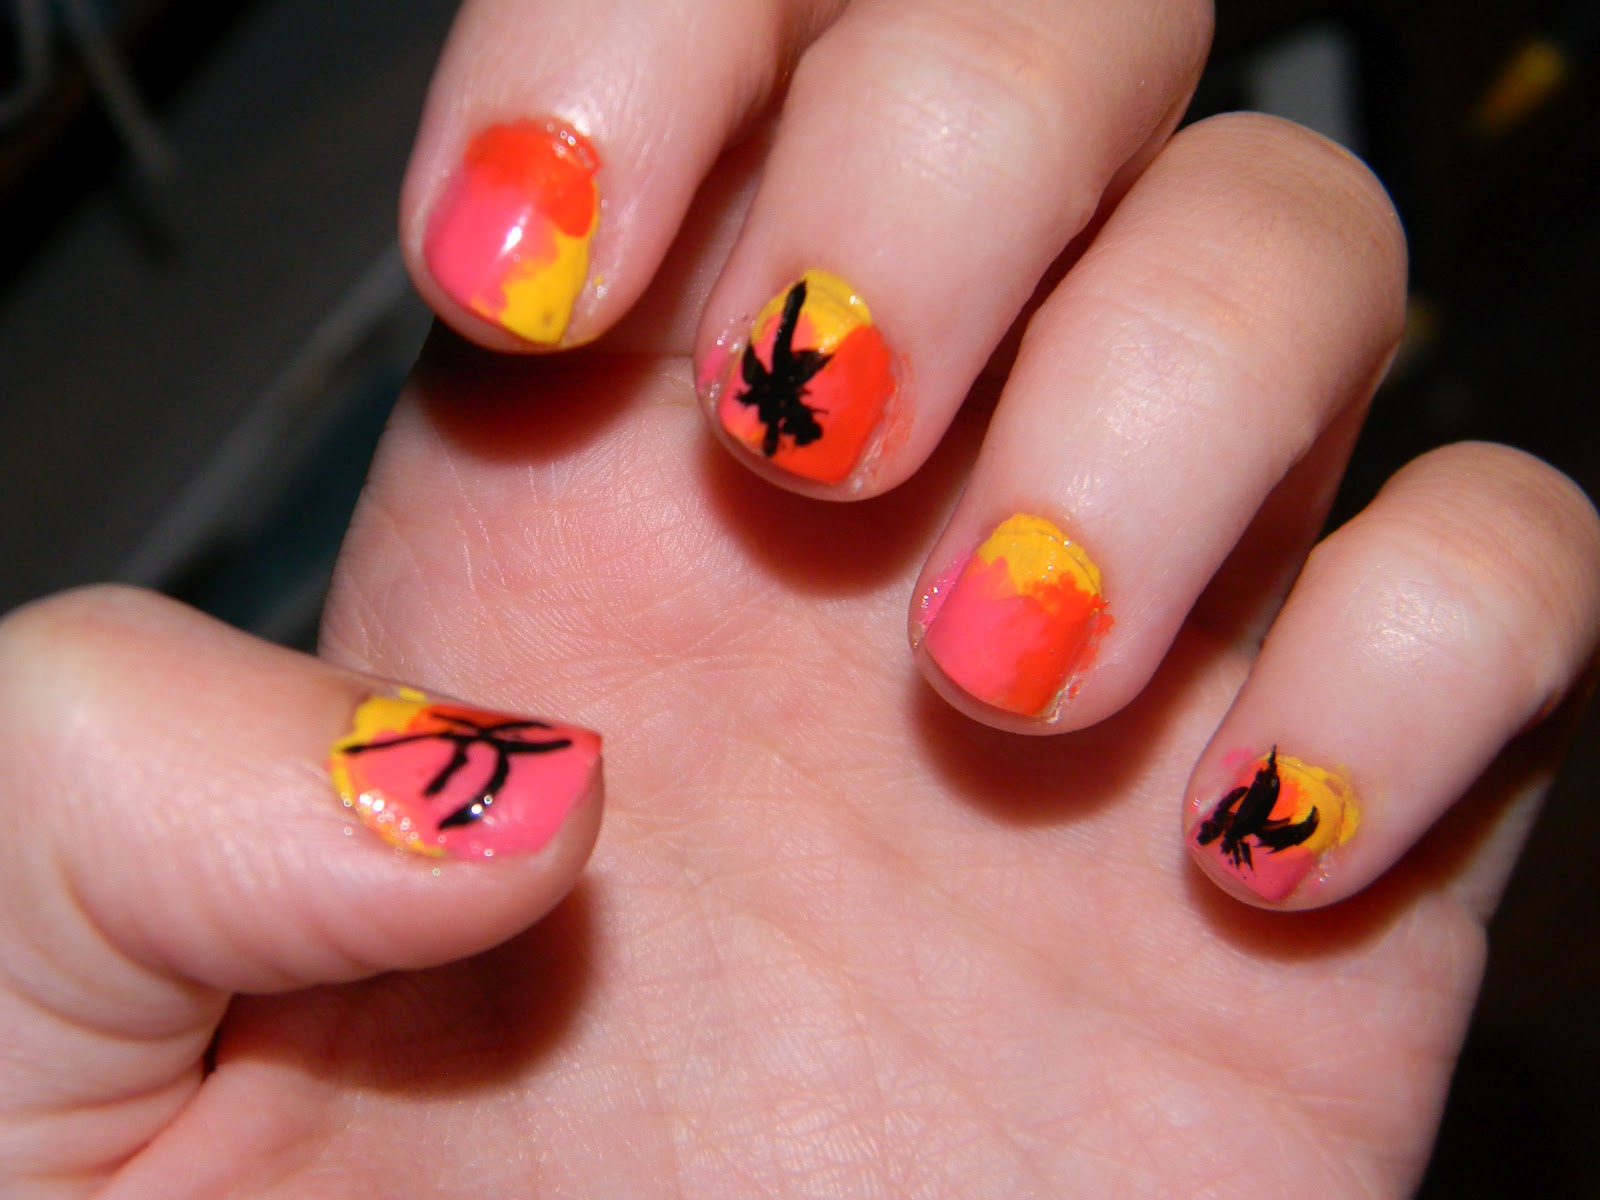
  Remember my sunset nails? Well, this cupcake tutorial is inspired by them! The recipe below is so delicious. It's not vanilla so much as just white cake flavored; it's reeeally sweet! It's originally from here, but I added the food color/frosting details.


  You'll Need...
  1/2 cup milk
1 cup white sugar
1/2 cup butter
2 eggs
2 teaspoons vanilla extract
1 1/2 cups all-purpose flour
1 3/4 teaspoons baking powder
Red food coloring
Yellow food coloring
Frosting
(I used cream cheese)

No AA batteries means I had to use my iPhone..
1) Preheat oven to 350 degrees (Fahrenheit). Line a muffin pan with paper liners (or grease a 9x9 pan if you want to make a cake instead).        
       
2) In a medium bowl, cream together the sugar and butter. Beat in the eggs, one at a time, then stir in the vanilla. Combine flour and baking powder, add to the creamed mixture and mix well. Finally stir in the milk until batter is smooth.


3) Divide batter into three separate bowls. Add yellow to one, red to another, and an even red/yellow combination to the last one (remember, a little goes a long way!). Stir until desired color is achieved. When spooning the batter into your cups, remember you still have two colors left... don't overdo one color!               


 4) Bake 20 to 25 minutes in the preheated oven, or 30-40 if you're making cake. Cupcakes are done when they spring back to the touch.                      
In the nail tutorial, I added palm trees. With the cupcakes... At least I can say I tried.

 5)  After they've cooled, frost them. I used standard Duncan Hines Cream Cheese frosting, but I'm sure there's a trillion sugary recipes fit for these little calorie bombs.


    Just so you know: The food coloring method can also be used for rainbow cupcakes! I tried this a while ago, but didn't blog the recipe (there was a cornstarch incident). The mini sunsets tasted much better, anyway. :)


    Enjoy!

 xoxo,
    Zoe

June 22, 2012

How To: Sunset Nails!

   Hello!

  I'm here today with a nail tutorial for super-easy sunset nails. I was inspired by one of my friends' manicure that she had done at a salon, but I took the main features of it and gave it an easier twist. Let's get this (beach!) party started.


You'll Need...
~ Yellow nail polish ~
~ Pink nail polish ~
~ Orange nail polish ~
~ Black nail art polish ~
~ Top coat ~
~ Base coat ~

Step One: After you started your basic manicure, apply yellow polish to 1/3 of your nail (the cuticle, the side, or the top). Mix up the way you apply it per nail, so no sunset is the same.

Step Two: Do the same with the orange. The colors should look like they're melting into each other.

Step Three: Do it one last time with the pink. I ran over them with a top coat while still mildly wet, to blend the colors even more.

Step Four: Make a palm tree with your black nail art polish. Start with the trunk (thick at the base), pulling it toward the center of your nail (thinning as you go). Make your "fronds" where you left off at the center.


Step Five: Repeat the palm-tree process with one or two of your other nails. I did my thumb, middle, and pinky fingers.

  It's vacation at your fingertips! :)
 xoxo,
    Zoe

June 14, 2012

Nail Tips & Tricks

   Hello!


  As promised in my basic manicure post, here are some of my mani/pedi tips! Read on below for more.


Why wash hands first? This removes any dirt and grime from your nails, as well as softens them slightly (for softer nails, try dipping them in rose water). Don't forget to follow with polish remover!

Why clip before polishing? I thought this one was kind of obvious: so you can see where you're clipping! Also, this way your nails won't break underneath your polish.

Use remover to thin out chunky nail polish? What? Yep, pouring a tiny bit of nail polish remover into a bottle of old/thick/chunky polish will thin it out and get it back to normal! Credit to my mom for her worldy wisdom.

Why do I need a high-quality top coat? I used to have a low-quality, Dollar General brand of clear polish as my top coat, and it was crazy chunky and sticky! After two or three uses, it barely applied at all. Oh, and I'm pretty much super positive the fumes got me sick. Well, maybe not. But probably.

Why should I apply a top coat throughout the week? I want to say to do it every other day, because that will ensure your manicure lasts at least all week, but I never have time to do that myself. Try top-coating mid-week, at least, to avoid chipping (or more chipping) and anything else that could compromise your hardwork.

Why can't I file back and forth? This is important: Filing back-and-forth actually weakens nail fibers and cuticles! I know, mind-blowing. Try filing all one way.

Why can't I apply my next coat when my base coat is still wet? Oh, come on. :)

What do you mean, 'leave your bottle open'? I mean, when you're applying, say, your top coat, leave the original polish bottle open, in case it's actually still wet. That way, if you've gotta redo your entire nail for some reason, you won't ruin the rest of your polish in the act of opening the top coat bottle.

Not on the list...
  For shatter coats, I've found less is more. Don't glop the shatter polish, use only a light coat for the full effect.

To make sure your nails are dry, tap two together. If there's any resistance, then they're not fully dry. If they don't stick at all, you're ready to roll.

  Do you have any nail tips and tricks of your own?

  xoxo,
     Zoe


June 12, 2012

How To: Do a Basic Manicure!

  Hello!


  I've made a little diagram on how to do a basic manicure...


 Allow me to elaborate...

1) Gather your supplies: (Clear) Base coat, (clear) top coat, nail file, nail clippers, cotton ball, nail polish(es)

2) Remove dirt and old polish. This will not only make your manicure smoother, but last longer, too!

3) Clip your nails, then file them.

4) Apply one even base coat.

5) Apply nail polish.

6) Apply one even top coat.

 Be on the lookout for my nail tips and tricks post soon!

 xoxo,
   Zoe


June 6, 2012

How To: Make a Bunting Banner

   Hello!


   Bunting banners/flags/pennants (let's just stick with banners) have become quite popular. Rather than buy one, though, why not just make it? Here's a super-easy tutorial to do just that.

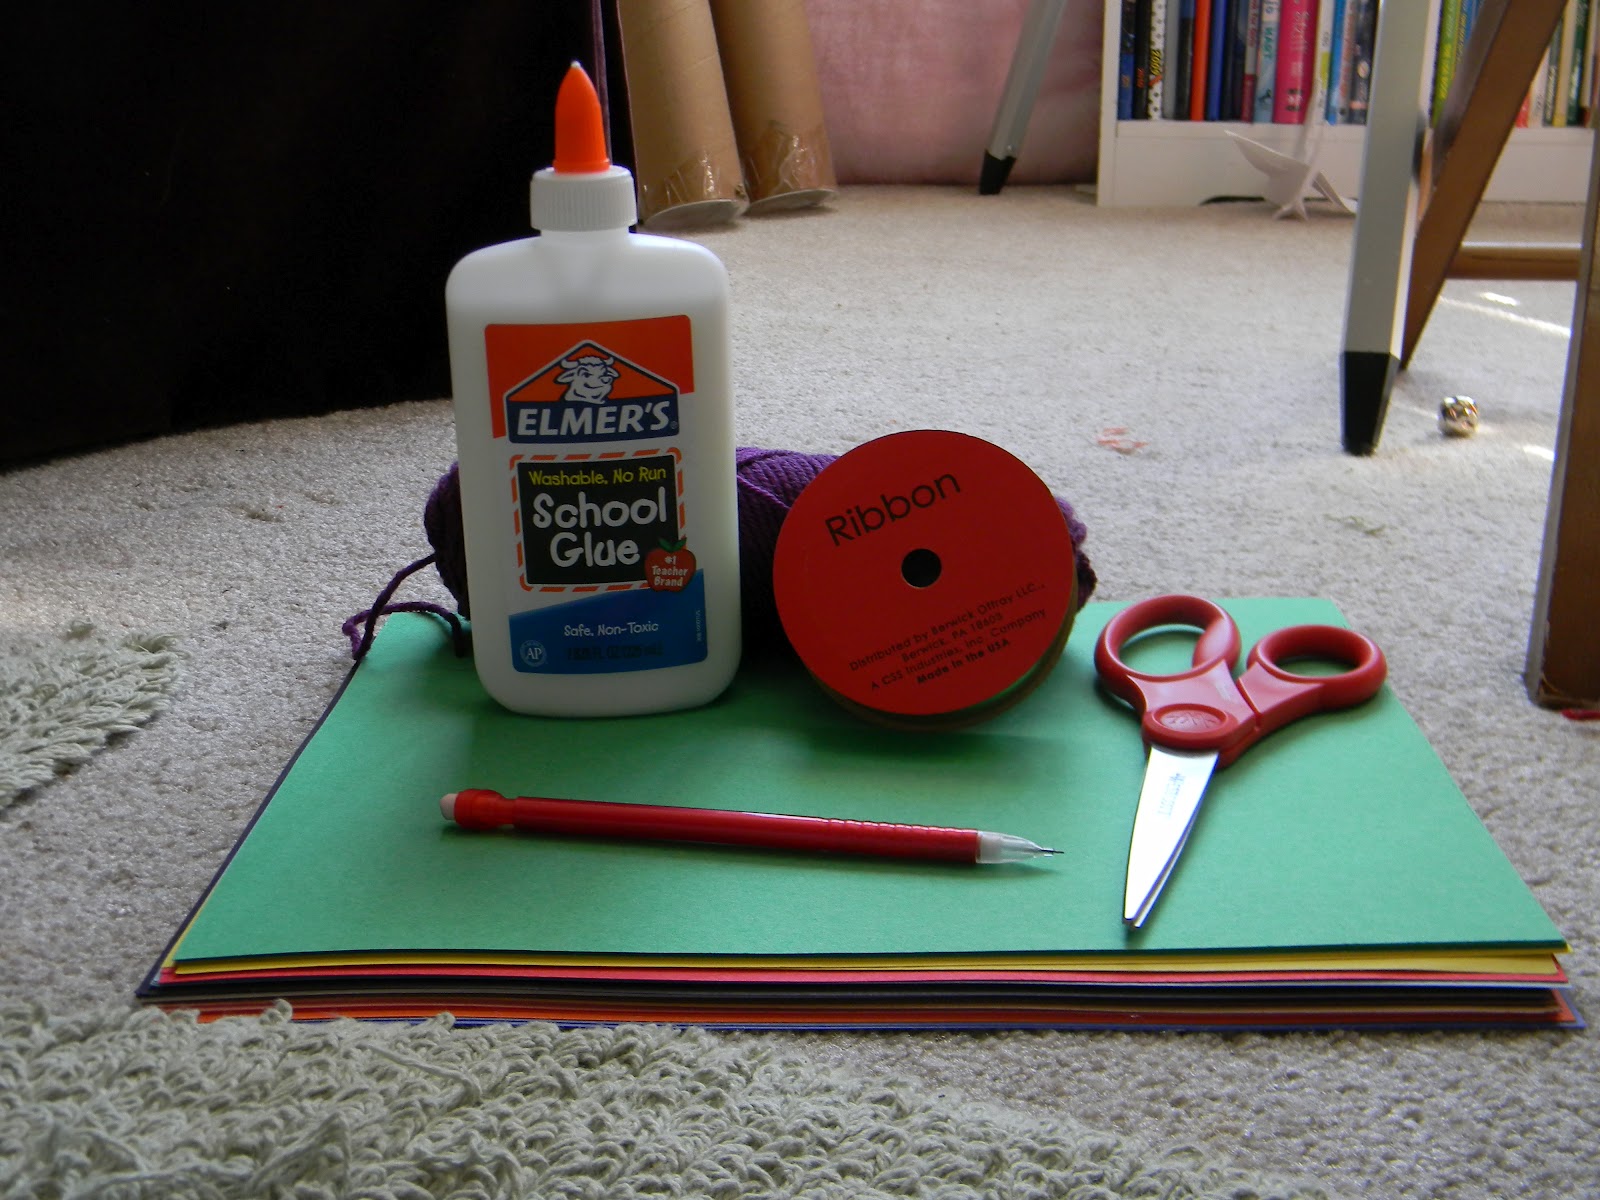
You'll Need...

Glue
 Duct Tape
Scissors
Yarn or (thick) Ribbon
Pencil
Construction Paper (multiple colors)
 
 
Step One:  Cut out a medium-sized triangle, then use it as a template to cut out five more.
Step Two:  Using a different color, cut out circles or thick lines. Place them on a triangle, then glue. Decorate two or more of the triangles with various shapes. (I tried circles, but they didn't turn out too well...)
Step Three: Once the glue has dried, turn all your triangles over. Put them in the order you want them to hang, then place yarn or ribbon on them, near the top. Using a small piece, duct tape the yarn/ribbon to the triangle.
Step Four: Hang your banner!
Enjoy!
   xoxo,
        Zoe

February 4, 2012

How To: Make Cupid's Arrows

  Hello, hello!


   This is a super quick and easy how-to that teaches you how to make cute little Cupid's arrows; perfect for Valentine's Day!

 You'll Need...
  • Felt
  • Yarn
  • Scissors
  • Sticks
  • Felt Glue or Standard Thick Glue
    (For the sticks, I used ones meant to be used as plant markers)

First: Prepare your felt. Per stick, cut out two small, matching triangles for the heads. Glue all the sides together except for one, and dot glue on all of that side but the middle (so you leave room for the stick). For the ends, cut out two matching rectangles.

Next: On the top of both rectangles, cut out an inward triangle. At the bottom, cut out an outward triangle. Glue the sides together, following the same glue instructions as with the head-triangles. (If you want, add subtle fringe to the ends, simply by putting little cuts on the sides.)

Then: Let dry. Make sure stick fits in well on both sides. If not snug, put a dab of glue on the stick's ends, and press the felt down on it. Near the rectangle arrow back, tie a piece of yarn.


Now: All done!


    I think the simplicity of the project makes written instructions a bit difficult to understand, but I'm sure you can do it!

     Have you crafted anything for Valentine's Day?


xoxo,
   Zoe

January 15, 2012

How To: Make a Pill Popper's Pencil Pouch

   Hello, hello!


    I don't know about you, but I'm totally fascinated by pills. How their tiny little bodies hold enough stuff to fix, if only temporarily, your whole body-- it just blows my mind!
     Pills are the inspiration behind this how-to. Read on to learn how to make a pill-lookalike pencil pouch!

  You'll need...
  • Red Duct Tape
  • White Duct Tape
  • Scissors
  • Paper
  • Pencil
Let's get started!


Step One: Once you have your materials gathered, use your pencil to trace a half-oval. Once you cut it out, use it as a template to trace and cut out three more.


Step Two: Prepare your duct tape pieces. Carefully wrap your paper half-ovals-- two white, two red.


Step Three: Make sure all the half-ovals are the same shape. (Hold them up to each other, two at a time, and cut out the excessive tape.)


Step Four: Now that they're all perfectly aligned, tape white/red and white/red together carefully. (It's important to keep it neat!) Reinforce the flimsy backs by overlapping spare tape (of any color).


Step Five: Being as precise as possible, tape the sides together. Don't forget to tape the bottom, or whatever you're carrying will slide right through! Once the bottom is secure (as shown above), you can tape the top about a quarter to halfway up.


Viola! Your pouch is complete!

Here's a tip: When you're wrapping the duct tape --whether it's around the half-ovals or taping the sides together-- neater is better. Don't rip off the tape you're using, try to cut it. Also, try to align the pieces properly, for a sleeker-looking pouch. :)


        Have you made anything recently?

xoxo,
Zoe

November 27, 2011

How To: Collect Pressed Pennies

  Hello!


    To some, this may seem extremely lame. To (cooler) others, this may seem like a super-rad guide to getting a cheap memento from a lovely trip or experience. To everyone, this is a post about the art of collecting pressed pennies.


   I first began collecting pressed pennies in about the fourth grade; I went with my mom and my brother's sixth grade class (don't ask) to Washington, D.C. (did you know it's not in Virginia? Life-altering information!), and visited the Smithsonian. The glorious Smithsonian! Or Smithsonians, I should say. Anyway, it was an exorbitant set of museums, and every souvenir had an exorbitant price. My mom was the first to point out the machine -- "Look, Zoe!" (Fond memory flashback...and back!) There, in its shining glory, a pressed penny machine! For $0.51, I could have a lovely little picture forever pounded into my tiny Abe Lincoln. It was a good day.
  
   Since then, I've somewhat obsessively collected pressed pennies from every place I go, often times getting several from one machine. It's inexpensive and incredible. This post will illustrate the pros and cons of penny collecting, as well as the steps to having and keeping a very delightful little collection.

   Along with the many pros, cons always worm their way in.

Pros of Collecting Pressed Pennies
  •  Inexpensive
  •  Simple
  •  Find machines easily with PennyCollector.com (they're international!!)
 Cons of Collecting Pressed Pennies
  • Tiny
  •  Might not be in your location
  •  Easy to lose
  Still interested? I've included some tips to get you started!


  Get a Book
 Many places sell pressed penny books, that hold up to 42 pennies. Many books also include a limited edition, "pre-made" penny on the front cover. READ READ READ!: Every year, I go to Gatlinburg, Florida, or both. That means, if I were to get a pressed penny book in one of those places, it wouldn't be as special of a memory! I got my book at the National Museum of Natural History-- a place I've never been before that fourth grade trip and a place I haven't been since. So you should get your book at a special place! I'm waiting until Europe 'till I get my next one.


  When on a trip, try to always have two quarters and a penny in your wallet
 I've missed out on several good pennies because of this. I realize how lame that sounds.

 If they're nice or extra significant, get more than one
 ...from the same machine or place. It's usually not necessary to get duplicates of the same one, though.

  Don't just drop them into your (large) purse or pocket
 Especially if you're at a theme park! Tuck them into your wallet or put them into an empty Mentos container to avoid losing them.

  I hope I found a solution to some of your cons with these tips! Good luck!

  xoxo,
   Zoe