Showing posts with label sunset. Show all posts

June 26, 2012

How To: Make Sunset Cupcakes

  Hello!


  Remember my sunset nails? Well, this cupcake tutorial is inspired by them! The recipe below is so delicious. It's not vanilla so much as just white cake flavored; it's reeeally sweet! It's originally from here, but I added the food color/frosting details.


  You'll Need...
  1/2 cup milk
1 cup white sugar
1/2 cup butter
2 eggs
2 teaspoons vanilla extract
1 1/2 cups all-purpose flour
1 3/4 teaspoons baking powder
Red food coloring
Yellow food coloring
Frosting
(I used cream cheese)

No AA batteries means I had to use my iPhone..
1) Preheat oven to 350 degrees (Fahrenheit). Line a muffin pan with paper liners (or grease a 9x9 pan if you want to make a cake instead).        
       
2) In a medium bowl, cream together the sugar and butter. Beat in the eggs, one at a time, then stir in the vanilla. Combine flour and baking powder, add to the creamed mixture and mix well. Finally stir in the milk until batter is smooth.


3) Divide batter into three separate bowls. Add yellow to one, red to another, and an even red/yellow combination to the last one (remember, a little goes a long way!). Stir until desired color is achieved. When spooning the batter into your cups, remember you still have two colors left... don't overdo one color!               


 4) Bake 20 to 25 minutes in the preheated oven, or 30-40 if you're making cake. Cupcakes are done when they spring back to the touch.                      
In the nail tutorial, I added palm trees. With the cupcakes... At least I can say I tried.

 5)  After they've cooled, frost them. I used standard Duncan Hines Cream Cheese frosting, but I'm sure there's a trillion sugary recipes fit for these little calorie bombs.


    Just so you know: The food coloring method can also be used for rainbow cupcakes! I tried this a while ago, but didn't blog the recipe (there was a cornstarch incident). The mini sunsets tasted much better, anyway. :)


    Enjoy!

 xoxo,
    Zoe

June 22, 2012

How To: Sunset Nails!

   Hello!

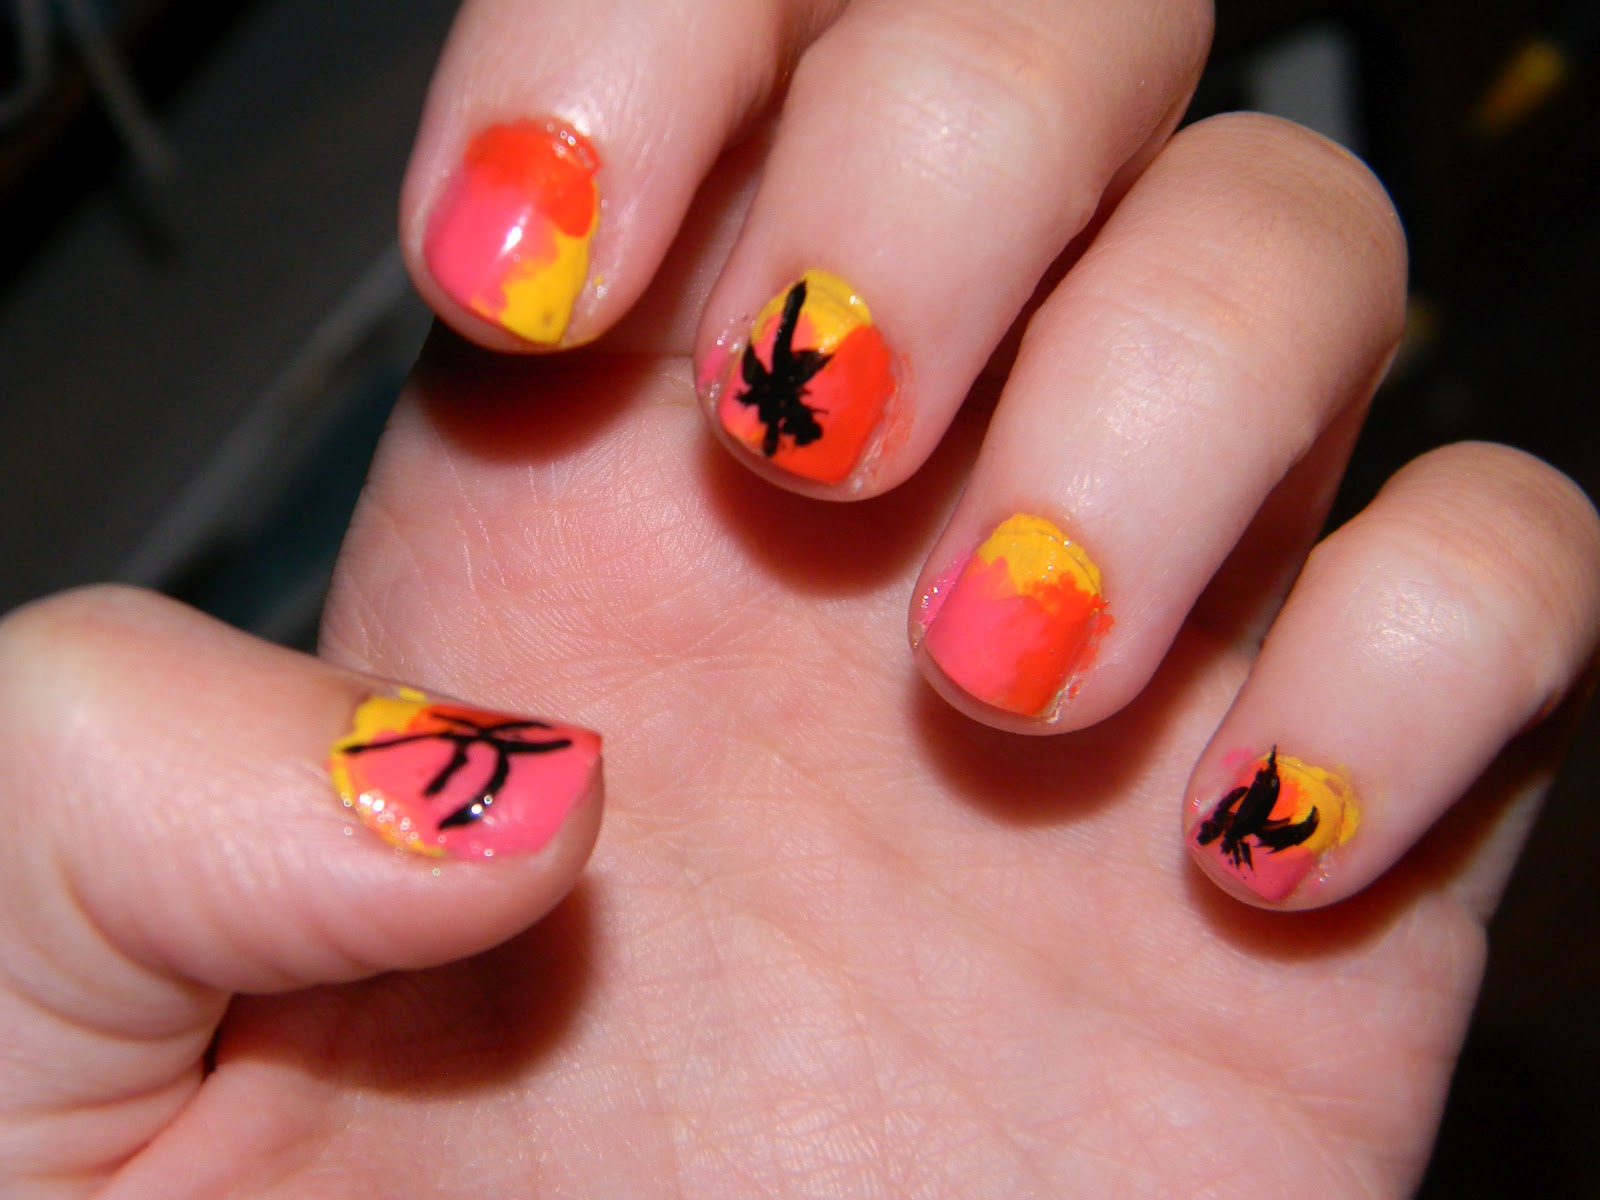
  I'm here today with a nail tutorial for super-easy sunset nails. I was inspired by one of my friends' manicure that she had done at a salon, but I took the main features of it and gave it an easier twist. Let's get this (beach!) party started.


You'll Need...
~ Yellow nail polish ~
~ Pink nail polish ~
~ Orange nail polish ~
~ Black nail art polish ~
~ Top coat ~
~ Base coat ~

Step One: After you started your basic manicure, apply yellow polish to 1/3 of your nail (the cuticle, the side, or the top). Mix up the way you apply it per nail, so no sunset is the same.

Step Two: Do the same with the orange. The colors should look like they're melting into each other.

Step Three: Do it one last time with the pink. I ran over them with a top coat while still mildly wet, to blend the colors even more.

Step Four: Make a palm tree with your black nail art polish. Start with the trunk (thick at the base), pulling it toward the center of your nail (thinning as you go). Make your "fronds" where you left off at the center.


Step Five: Repeat the palm-tree process with one or two of your other nails. I did my thumb, middle, and pinky fingers.

  It's vacation at your fingertips! :)
 xoxo,
    Zoe