Showing posts with label do it yourself. Show all posts

June 6, 2012

How To: Make a Bunting Banner

   Hello!


   Bunting banners/flags/pennants (let's just stick with banners) have become quite popular. Rather than buy one, though, why not just make it? Here's a super-easy tutorial to do just that.

You'll Need...

Glue
 Duct Tape
Scissors
Yarn or (thick) Ribbon
Pencil
Construction Paper (multiple colors)
 
 
Step One:  Cut out a medium-sized triangle, then use it as a template to cut out five more.
Step Two:  Using a different color, cut out circles or thick lines. Place them on a triangle, then glue. Decorate two or more of the triangles with various shapes. (I tried circles, but they didn't turn out too well...)
Step Three: Once the glue has dried, turn all your triangles over. Put them in the order you want them to hang, then place yarn or ribbon on them, near the top. Using a small piece, duct tape the yarn/ribbon to the triangle.
Step Four: Hang your banner!
Enjoy!
   xoxo,
        Zoe

February 4, 2012

How To: Make Cupid's Arrows

  Hello, hello!


   This is a super quick and easy how-to that teaches you how to make cute little Cupid's arrows; perfect for Valentine's Day!

 You'll Need...
  • Felt
  • Yarn
  • Scissors
  • Sticks
  • Felt Glue or Standard Thick Glue
    (For the sticks, I used ones meant to be used as plant markers)

First: Prepare your felt. Per stick, cut out two small, matching triangles for the heads. Glue all the sides together except for one, and dot glue on all of that side but the middle (so you leave room for the stick). For the ends, cut out two matching rectangles.

Next: On the top of both rectangles, cut out an inward triangle. At the bottom, cut out an outward triangle. Glue the sides together, following the same glue instructions as with the head-triangles. (If you want, add subtle fringe to the ends, simply by putting little cuts on the sides.)

Then: Let dry. Make sure stick fits in well on both sides. If not snug, put a dab of glue on the stick's ends, and press the felt down on it. Near the rectangle arrow back, tie a piece of yarn.


Now: All done!


    I think the simplicity of the project makes written instructions a bit difficult to understand, but I'm sure you can do it!

     Have you crafted anything for Valentine's Day?


xoxo,
   Zoe

January 15, 2012

How To: Make a Pill Popper's Pencil Pouch

   Hello, hello!


    I don't know about you, but I'm totally fascinated by pills. How their tiny little bodies hold enough stuff to fix, if only temporarily, your whole body-- it just blows my mind!
     Pills are the inspiration behind this how-to. Read on to learn how to make a pill-lookalike pencil pouch!
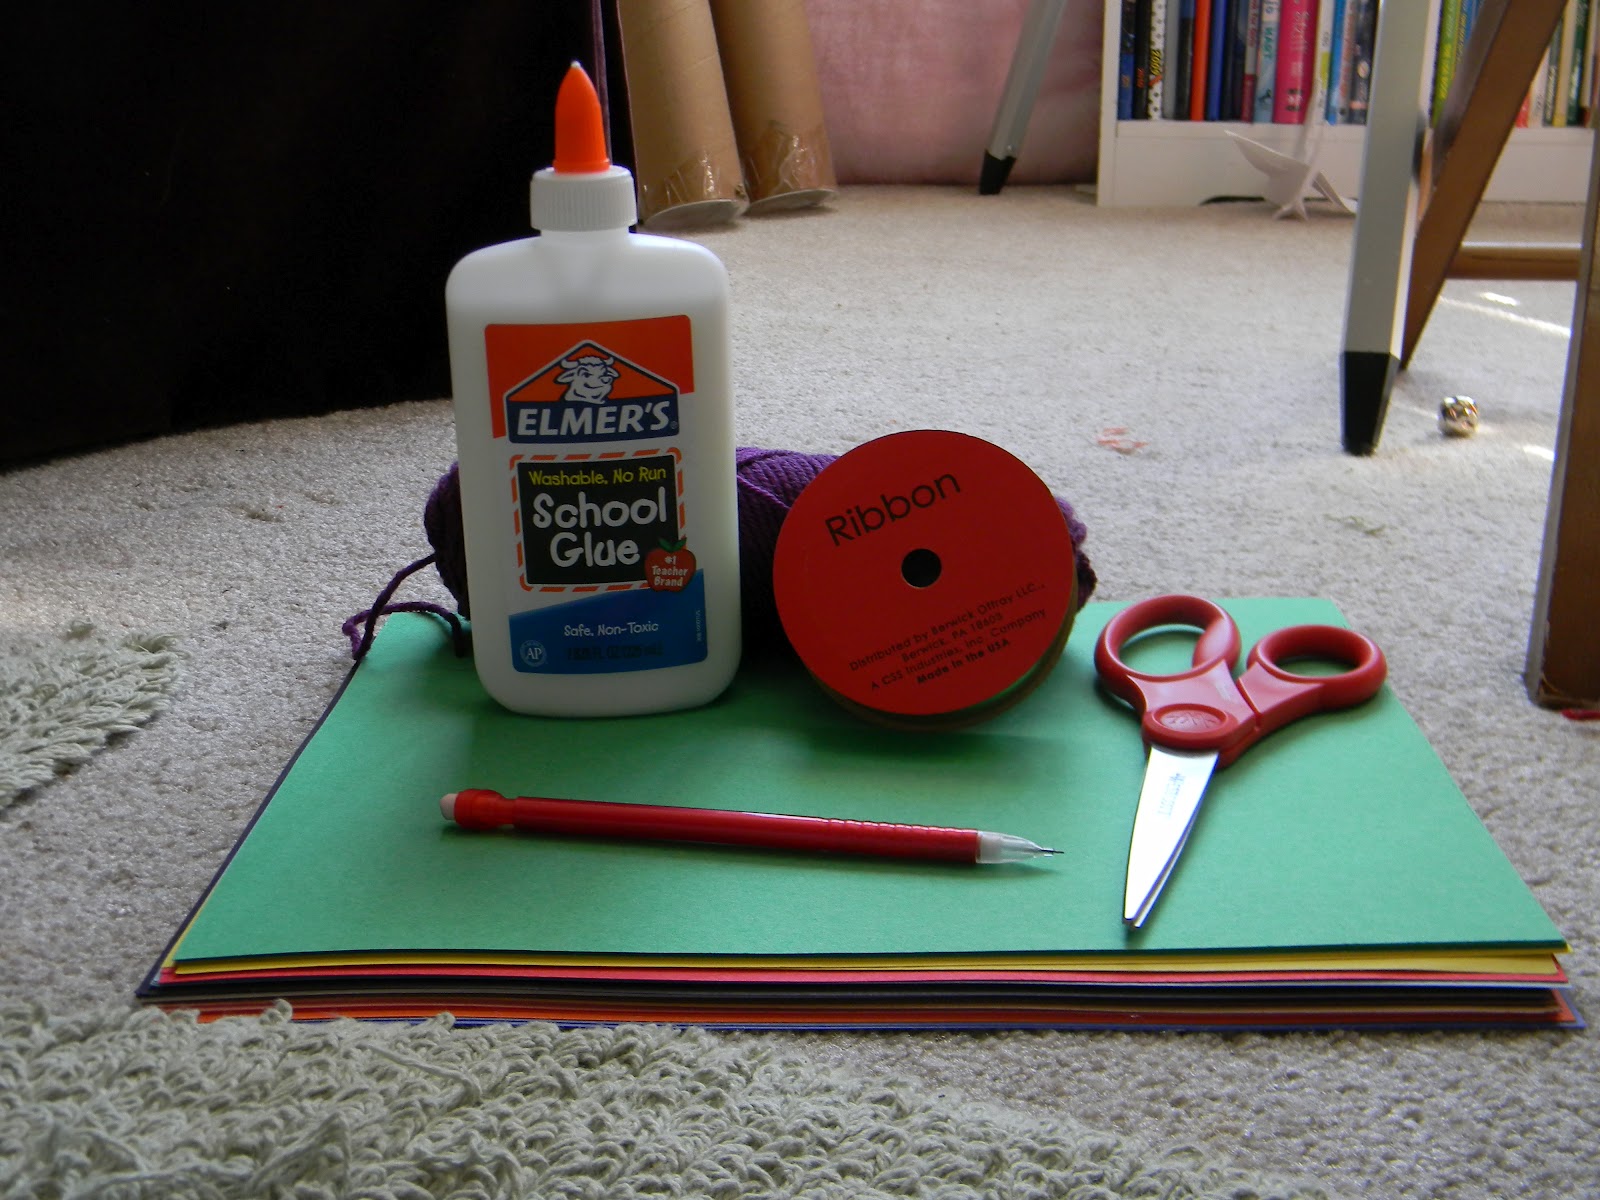
  You'll need...
  • Red Duct Tape
  • White Duct Tape
  • Scissors
  • Paper
  • Pencil
Let's get started!


Step One: Once you have your materials gathered, use your pencil to trace a half-oval. Once you cut it out, use it as a template to trace and cut out three more.


Step Two: Prepare your duct tape pieces. Carefully wrap your paper half-ovals-- two white, two red.


Step Three: Make sure all the half-ovals are the same shape. (Hold them up to each other, two at a time, and cut out the excessive tape.)


Step Four: Now that they're all perfectly aligned, tape white/red and white/red together carefully. (It's important to keep it neat!) Reinforce the flimsy backs by overlapping spare tape (of any color).


Step Five: Being as precise as possible, tape the sides together. Don't forget to tape the bottom, or whatever you're carrying will slide right through! Once the bottom is secure (as shown above), you can tape the top about a quarter to halfway up.


Viola! Your pouch is complete!

Here's a tip: When you're wrapping the duct tape --whether it's around the half-ovals or taping the sides together-- neater is better. Don't rip off the tape you're using, try to cut it. Also, try to align the pieces properly, for a sleeker-looking pouch. :)


        Have you made anything recently?

xoxo,
Zoe