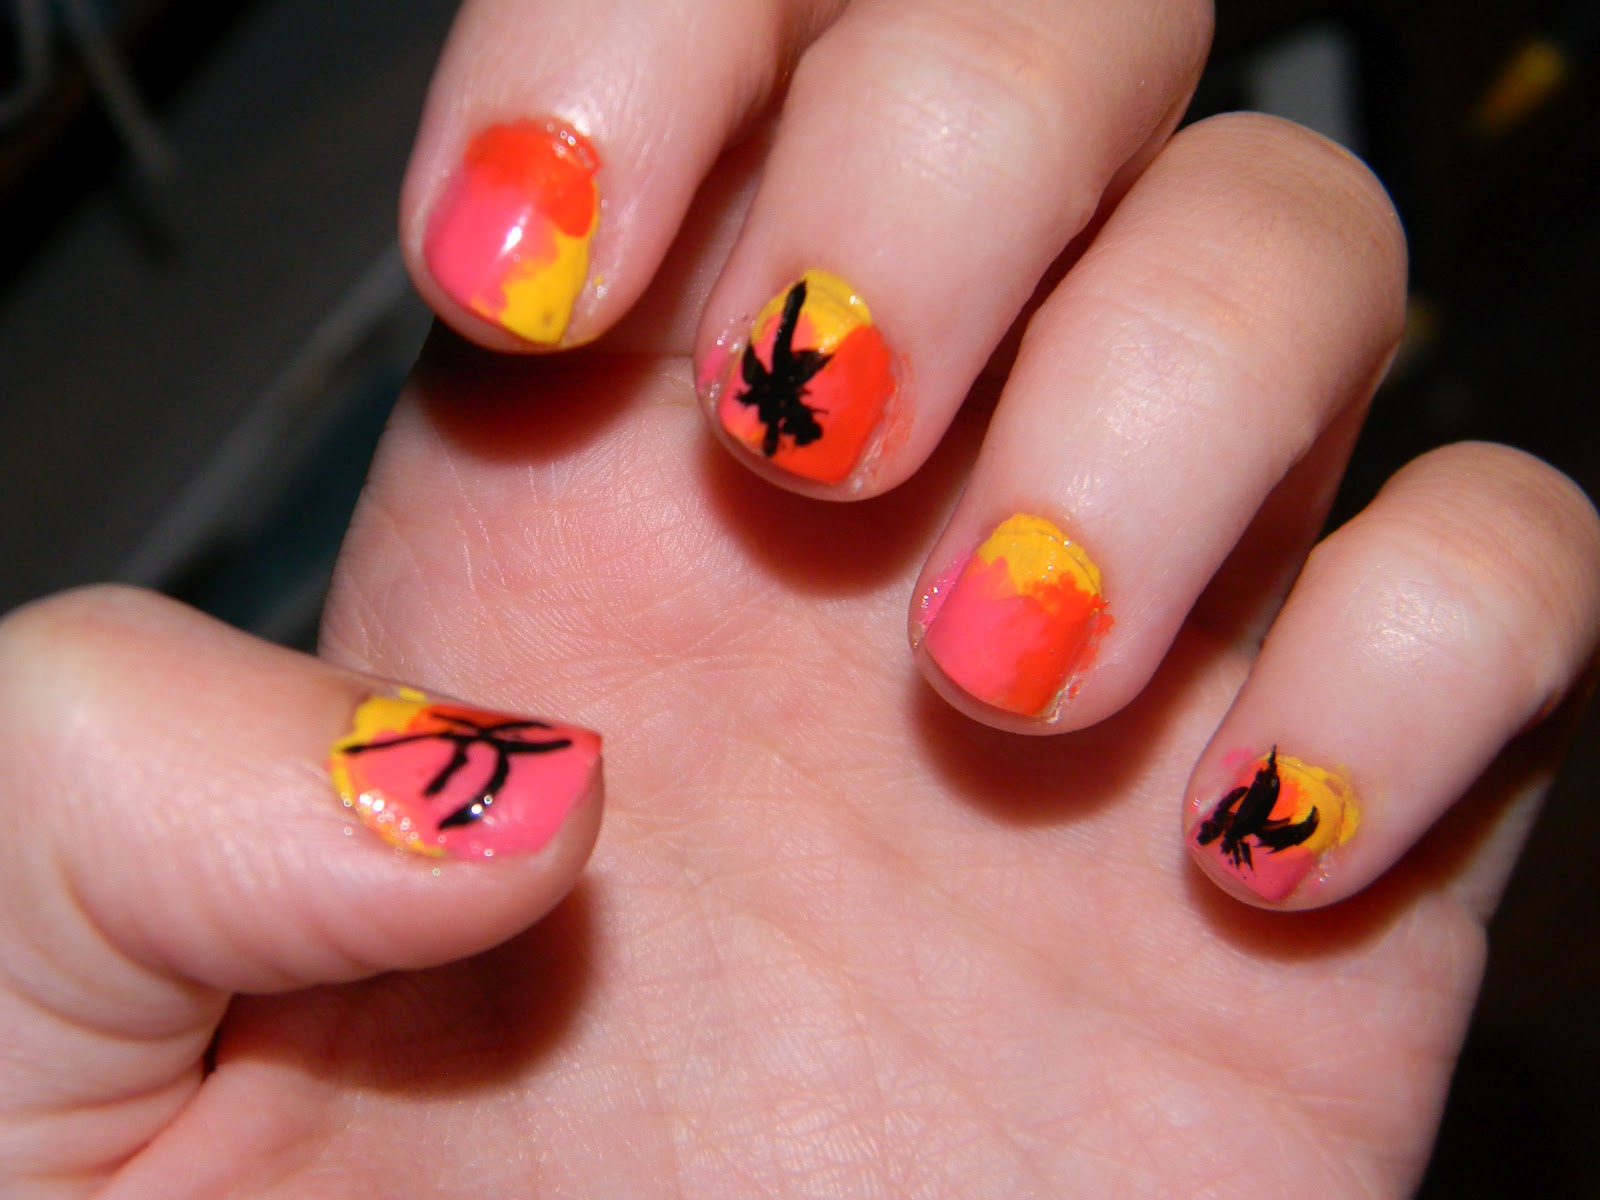
Showing posts with label nail series. Show all posts

July 10, 2012

Review :: Sally Hansen Magnetic Nail Color

    Hello!


  I recently picked up some Sally Hansen Magnetic Nail Color in Golden Conduct, and I'm here to share a review of my experience!
The magnetic cap is removable

   If you've yet to hear of this magnetic nail color, here's the run down: the polish is a "formula" infused with magnetic particles that move when exposed to the "specially designed" magnet, which is then supposed to create a little pattern. The magnet is built onto the cap of the polish. Many brands are jumping on the trend (as usual; remember those inescapable shatter polishes?), but I figured if I were to try it, I should try a more classic brand, one that's not too cheap but not too expensive. Enter Miss Hansen!


   The rules: put on a base coat (like with any manicure), then put on a light coat of the polish and wait to dry. Apply a thick coat on your nail, immediately followed by the magnet. Place the magnet on your cuticle (there's a handy-dandy little grasp so you know where to put it), and hold it there for 10 seconds.  Then remove, and viola!

  My thoughts: the starting color is incredibly lackluster. Luckily, though, the magnet takes care of that. As far as holding the magnet for "10 seconds" -- I found the longer I held, the better the effect; I held mine for 15-25 seconds per nail. When I removed it... the effect was gorgeous. It was like nail art, without any extra tools, mess, or polish. The actual swirls were a lot wider-apart than advertised, as you can see, but actual result was evident. It took several days to begin chipping (I added a top coat). Let me note, though, that removing the polish was way more difficult than I imagined! It took about a cotton ball per two fingers.


 In conclusion: I adore this polish. It's easy to apply, the effect is impressive, and it lasts a while without chipping. However, removal of the polish is challenging, so take that into consideration if you're wondering whether or not to drop the ten bucks.

 Brand: Sally Hansen Magnetic Nail Color :: Golden Conduct
 Cost: $10
 Would I buy it again: Yes.


  Have you tried any trendy nail polishes lately? Did they turn out okay?

  xoxo,
   Zoe


June 22, 2012

How To: Sunset Nails!

   Hello!

  I'm here today with a nail tutorial for super-easy sunset nails. I was inspired by one of my friends' manicure that she had done at a salon, but I took the main features of it and gave it an easier twist. Let's get this (beach!) party started.


You'll Need...
~ Yellow nail polish ~
~ Pink nail polish ~
~ Orange nail polish ~
~ Black nail art polish ~
~ Top coat ~
~ Base coat ~

Step One: After you started your basic manicure, apply yellow polish to 1/3 of your nail (the cuticle, the side, or the top). Mix up the way you apply it per nail, so no sunset is the same.

Step Two: Do the same with the orange. The colors should look like they're melting into each other.

Step Three: Do it one last time with the pink. I ran over them with a top coat while still mildly wet, to blend the colors even more.

Step Four: Make a palm tree with your black nail art polish. Start with the trunk (thick at the base), pulling it toward the center of your nail (thinning as you go). Make your "fronds" where you left off at the center.


Step Five: Repeat the palm-tree process with one or two of your other nails. I did my thumb, middle, and pinky fingers.

  It's vacation at your fingertips! :)
 xoxo,
    Zoe

June 14, 2012

Nail Tips & Tricks

   Hello!


  As promised in my basic manicure post, here are some of my mani/pedi tips! Read on below for more.


Why wash hands first? This removes any dirt and grime from your nails, as well as softens them slightly (for softer nails, try dipping them in rose water). Don't forget to follow with polish remover!

Why clip before polishing? I thought this one was kind of obvious: so you can see where you're clipping! Also, this way your nails won't break underneath your polish.

Use remover to thin out chunky nail polish? What? Yep, pouring a tiny bit of nail polish remover into a bottle of old/thick/chunky polish will thin it out and get it back to normal! Credit to my mom for her worldy wisdom.

Why do I need a high-quality top coat? I used to have a low-quality, Dollar General brand of clear polish as my top coat, and it was crazy chunky and sticky! After two or three uses, it barely applied at all. Oh, and I'm pretty much super positive the fumes got me sick. Well, maybe not. But probably.

Why should I apply a top coat throughout the week? I want to say to do it every other day, because that will ensure your manicure lasts at least all week, but I never have time to do that myself. Try top-coating mid-week, at least, to avoid chipping (or more chipping) and anything else that could compromise your hardwork.

Why can't I file back and forth? This is important: Filing back-and-forth actually weakens nail fibers and cuticles! I know, mind-blowing. Try filing all one way.

Why can't I apply my next coat when my base coat is still wet? Oh, come on. :)

What do you mean, 'leave your bottle open'? I mean, when you're applying, say, your top coat, leave the original polish bottle open, in case it's actually still wet. That way, if you've gotta redo your entire nail for some reason, you won't ruin the rest of your polish in the act of opening the top coat bottle.

Not on the list...
  For shatter coats, I've found less is more. Don't glop the shatter polish, use only a light coat for the full effect.

To make sure your nails are dry, tap two together. If there's any resistance, then they're not fully dry. If they don't stick at all, you're ready to roll.

  Do you have any nail tips and tricks of your own?

  xoxo,
     Zoe


June 12, 2012

How To: Do a Basic Manicure!

  Hello!


  I've made a little diagram on how to do a basic manicure...


 Allow me to elaborate...

1) Gather your supplies: (Clear) Base coat, (clear) top coat, nail file, nail clippers, cotton ball, nail polish(es)

2) Remove dirt and old polish. This will not only make your manicure smoother, but last longer, too!

3) Clip your nails, then file them.

4) Apply one even base coat.

5) Apply nail polish.

6) Apply one even top coat.

 Be on the lookout for my nail tips and tricks post soon!

 xoxo,
   Zoe


December 3, 2011

Review: O.P.I. Nail Polishes

  Hello!


  I recently blogged about some new nail polish I purchased: Designer...De Better! and Gone Gonzo from the O.P.I. Muppets collection. Here's what I have to say!


    I've had experience with O.P.I. before, but it wasn't good. Since I'm in love with Katy Perry, getting her nail polish was a must. I had never seen a more perfect color for a newly-nail-obsessed teenage girl as her Teenage Dream! Totally stoked, I bought the whole collection in mini-form, and put on TD right away; only to discover, days later, it was the most difficult nail polish to get off that I have ever tried! I haven't worn it since, nor have I bought anything by O.P.I. I decided to give the brand a second chance.

 
       As with all other nail polish techniques I use, I started with a base coat. Then, Designer...De Better!, followed by two or so layers of Gone Gonzo, finished with a clear coat. The picture above is the finished product.
   Hooray! It's pretty! Maybe 1/8 slutty, but mostly pretty. I was psyched to begin the week in such a glittery way.

  
    WHOA, WHAT?! After the first day, my thumb had chipped and the first two fingers' had completely fallen off. I made sure not to pick at it, even! In a word, I was devastated.
    I paid $16 total for these two nail polishes (my own money, man), only to have to repaint my nails every single day. It was horrendous.


 I decided I won't be purchasing another O.P.I. polish for a long while. I'm incredibly disappointed with the brand.

      Have you had any bad nail polish experiences lately?

 xoxo,
   Zoe